Today, I’m reviewing the new Sally Hansen Miracle Gel line. The Miracle Gel colours and top coat are specially formulated with an oligomer and a photoinitiator for a high-gloss finish without the need a UV/LED lamp, like traditional gel polish. Unlike traditional gels, or even regular polish, the system requires no basecoat – just apply two coats of your chosen Sally Hansen Miracle Gel colour, apply the Miracle Gel Top Coat, and you’re good to go. Read on for my full Sally Hansen Miracle Gel review!

The Sally Hansen Miracle Gel system claims up to 14 days of colour & shine, and I was really interested to see if the products held up to that claim! I actually tried this twice, because the first time I ended up picking at my manicure, which would obviously impact the wear time considerably. Because of the extended wear claims of this product, I’m going to compare the wear time to a regular manicure as part of my Sally Hansen Miracle Gel review.
Sally Hansen Miracle Gel Review
Day 1:
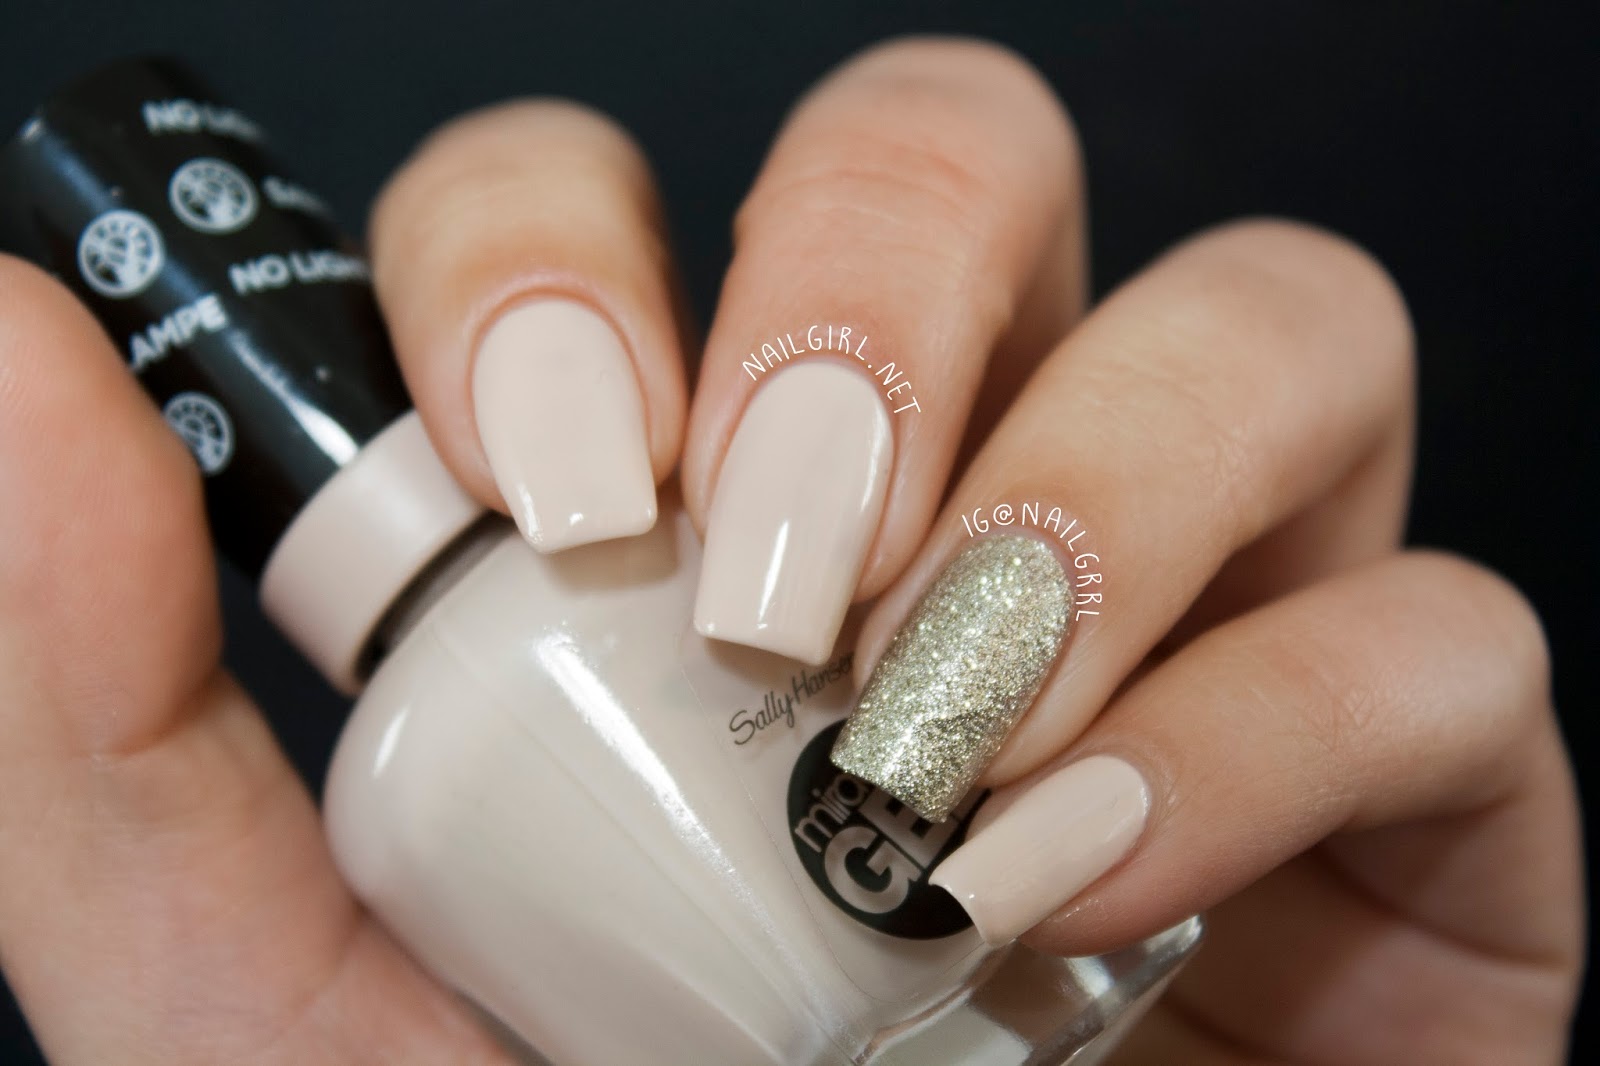
Beautifully shiny and glossy.
Day 2:
Right thumb chip. The polish is loose/peelable around the chip. At this point, I already wanted to remove my manicure. This never happens with regular nail polish.
Day 3:
No additional chips, just tip wear.
Day 4:
Glitter chipped, no additional chips.
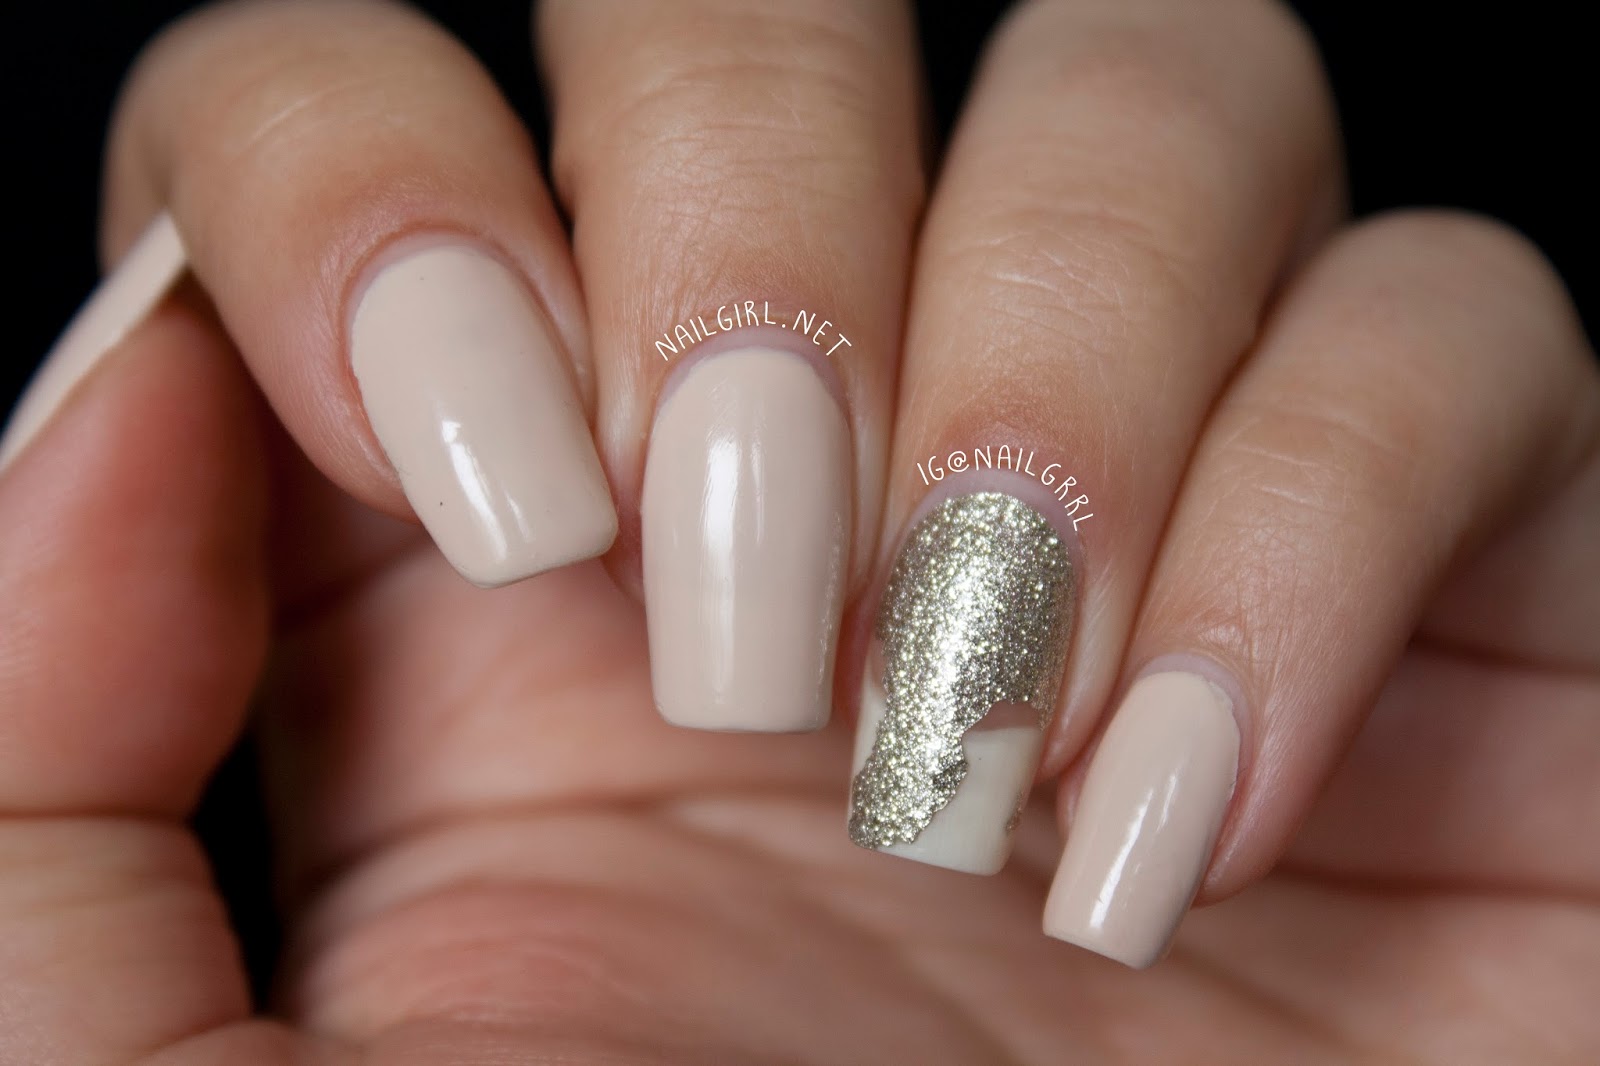
Day 5:
Picked at glitter a bit, so that chipped a bit more. Right hand index finger chipped significantly.
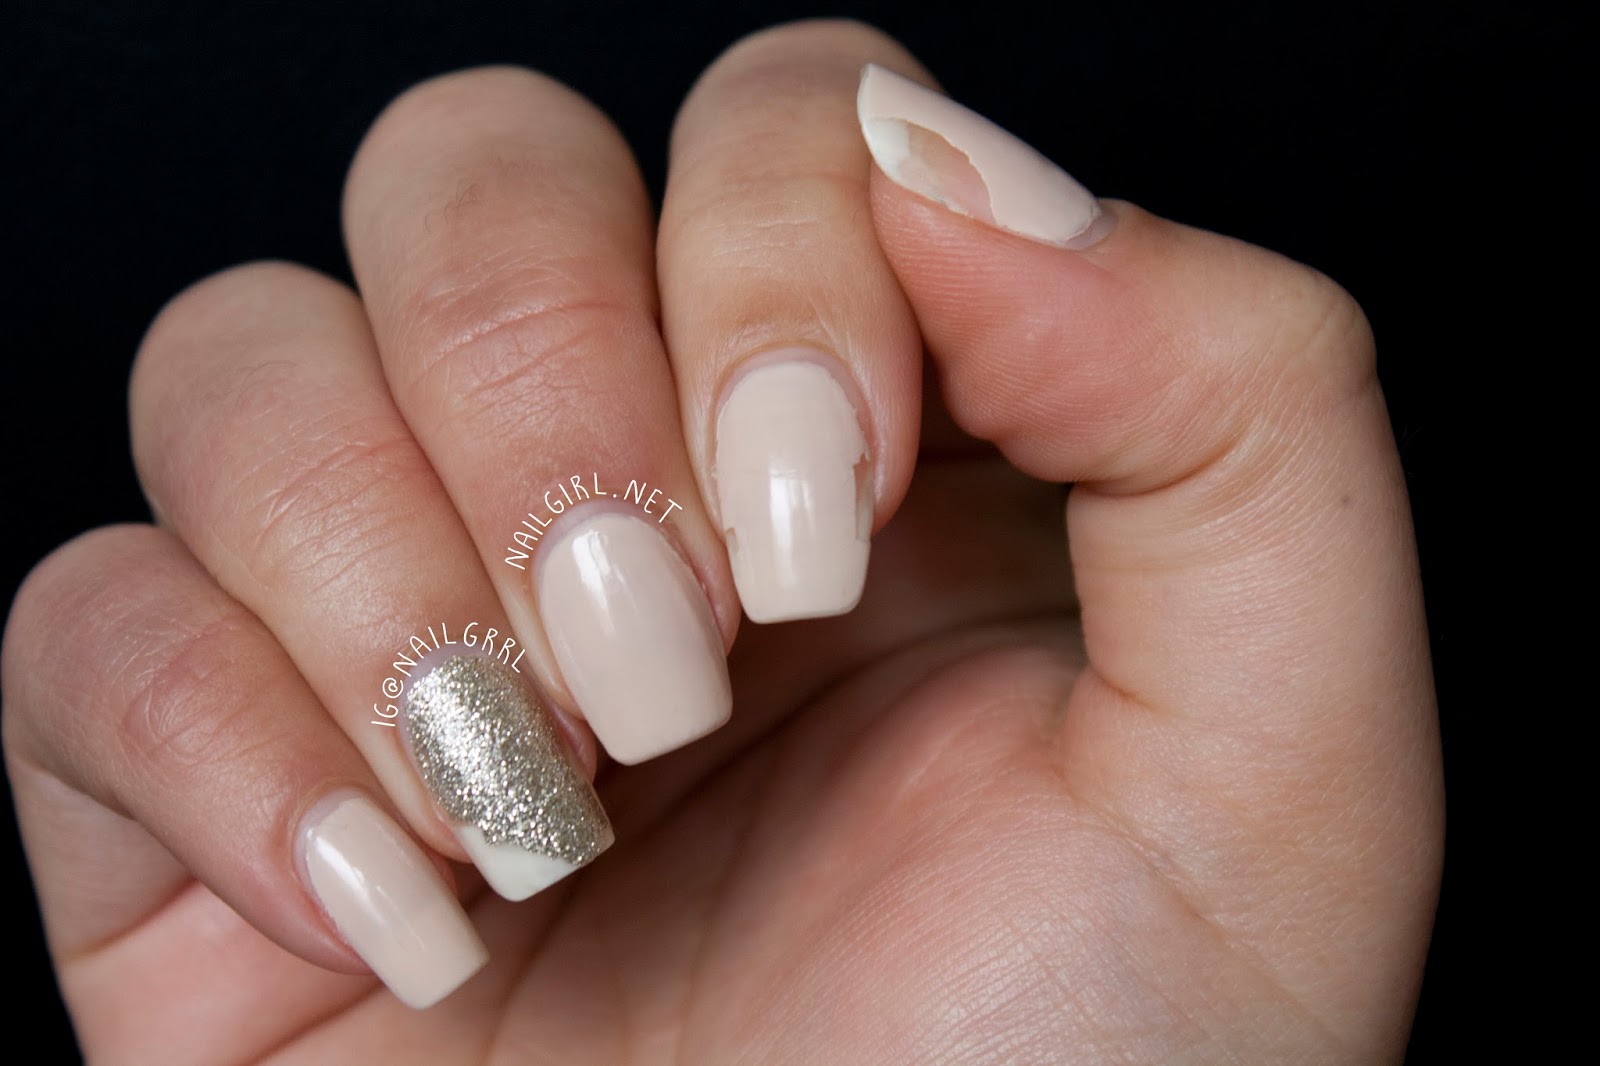
Day 6 (Removal day):
 |
| Left hand |
 |
| Right hand |
In hindsight, I should have taken daily photos along with notes to showcase the wear over time. It’s okay though—it’s a good thing to keep in mind for future Sally Hansen Miracle Gel reviews! By the sixth day, I couldn’t deal with the chips I had anymore and decided it was time to remove the polish. Aside from the chips, there were some ‘wear lines’ – I don’t know how else to describe them. They are lines from your nail naturally bending and cracking the polish a little bit.
I also found that this polish was not any more shiny or ‘gel like’ in appearance than any of my normal polishes used with a high-gloss top coat. The brush of the top coat also dragged on the polish, no matter how carefully I tried to apply it. Fortunately, the drag marks became less obvious as the polish and the top coat dried. On the positive side, I found that the top coat tried fairly quickly to a high-gloss finish.
The bottom line? I personally do not think that the Sally Hansen Miracle Gels have any significant benefit over regular polish, at least for me. If you do want to try them, I would DEFINITELY suggest using a base coat. Base coats are non-negotiable for me – the right base coat makes such a difference in wear time! It’s not technically advertised as a base coat that improves wear time, but the Duri Rejuvacote Nail Growth 1 gets me at least a week of chip-free polish and helps grow my nails to the length you see above.
Have you tried the new Sally Hansen Miracle Gels? Sound off in the comments.
Lexie xx
Products in this post were provided to me for review. All opinions are my own.
3 comments
I reviewed this a couple of weeks ago, and I found it lasted about as long as a normal polish. I have another shade to try, maybe that'll be better, but really I doubt it.
Me too. It's really nothing special in my opinion… I don't think it's necessarily BAD, just not as good as what I usually get out of my regular polish.
It looks like plastic film to me. I too tried the color Birthday Suit. I wanted something almost nude in color but opaque in coverage. I put on four coats the first try, and followed with the gel. It was not drying, so I removed it and started again. Like you, I was careful with the brush strokes, trying to get the nails as covered as possible. So, I did 3 coats and it was still streaking. I feel like this was a waste of my money, and I wonder if the other colors are as bad.